By Ross Madden
Published on May 17, 2023 9:43 am MT Updated on July 2, 2026 11:01 am MT Posted in General CNSIT, Printing
General Information
Model: HP DesignJet T1700 Location: CNS Undergraduate Computer Lab in Biology 126 Paper: Roll of 36″ HP Plain Paper
Poster File Preparation and Requirements
Before you attempt to print be sure that your poster file meets the following requirements.
1.) Your poster file must be in the PDF file format. 2.) The paper roll is only 36″ wide, so one edge of your poster must be no larger than this. Please be sure to scale your poster BEFORE attempting to print it. Failure to do so will result in a cropped poster.
Printing Directions
You must submit your plotter job using the dedicated computer to the left of the plotter in the Biology 126 computer lab. Only CNS Undergraduate Students are permitted to log on with their CSU NetID credentials to this computer to submit posters for printing.
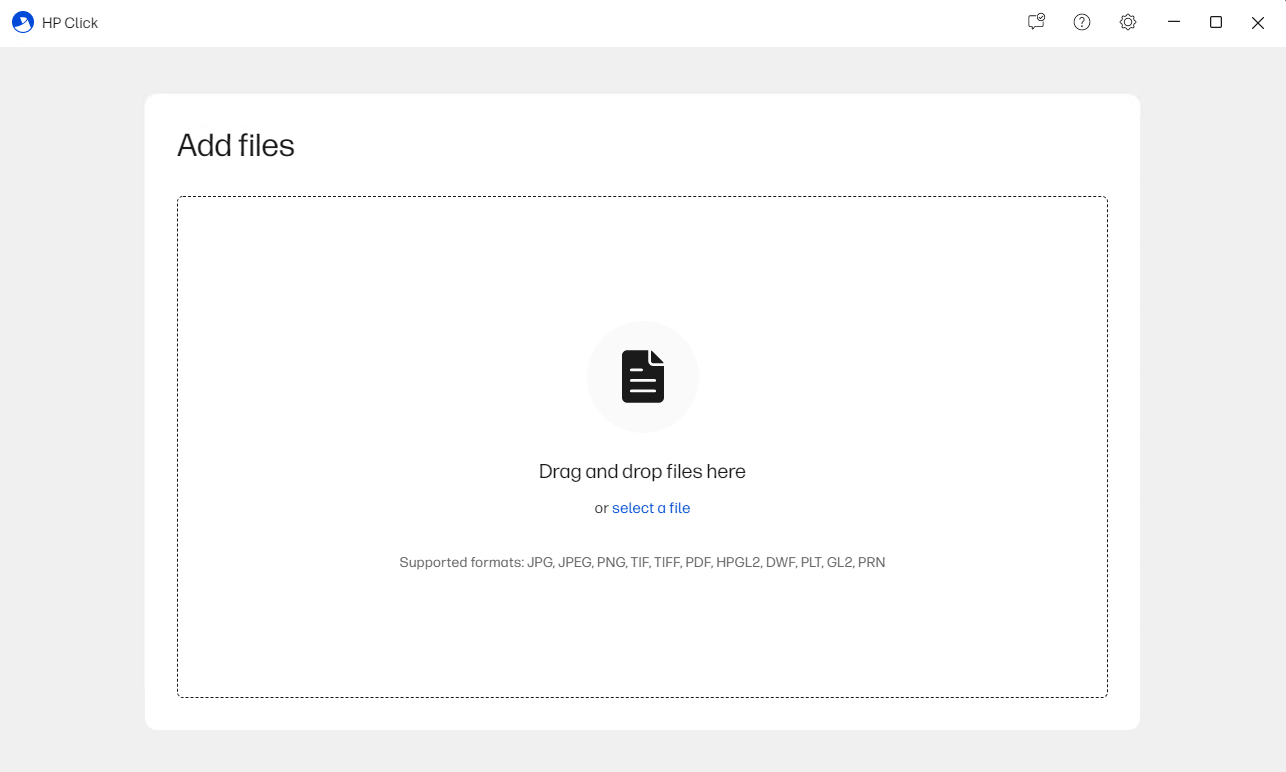
HP Click will start automatically, and you will want to accept the license agreement by clicking “Accept” button as shown below.
Next, click the “Get Started” button.
On this next screen you will need to set up the preferences, which just means selecting “Education” in the “Industry” drop down menu and clicking the “Next” button.
The software will now start to scan connections to find the printer as show here.
It should only take a few seconds to find the printer show here. If it states that it cannot find the printer, restart the computer and it should work better after a reboot.
You are now ready to print!
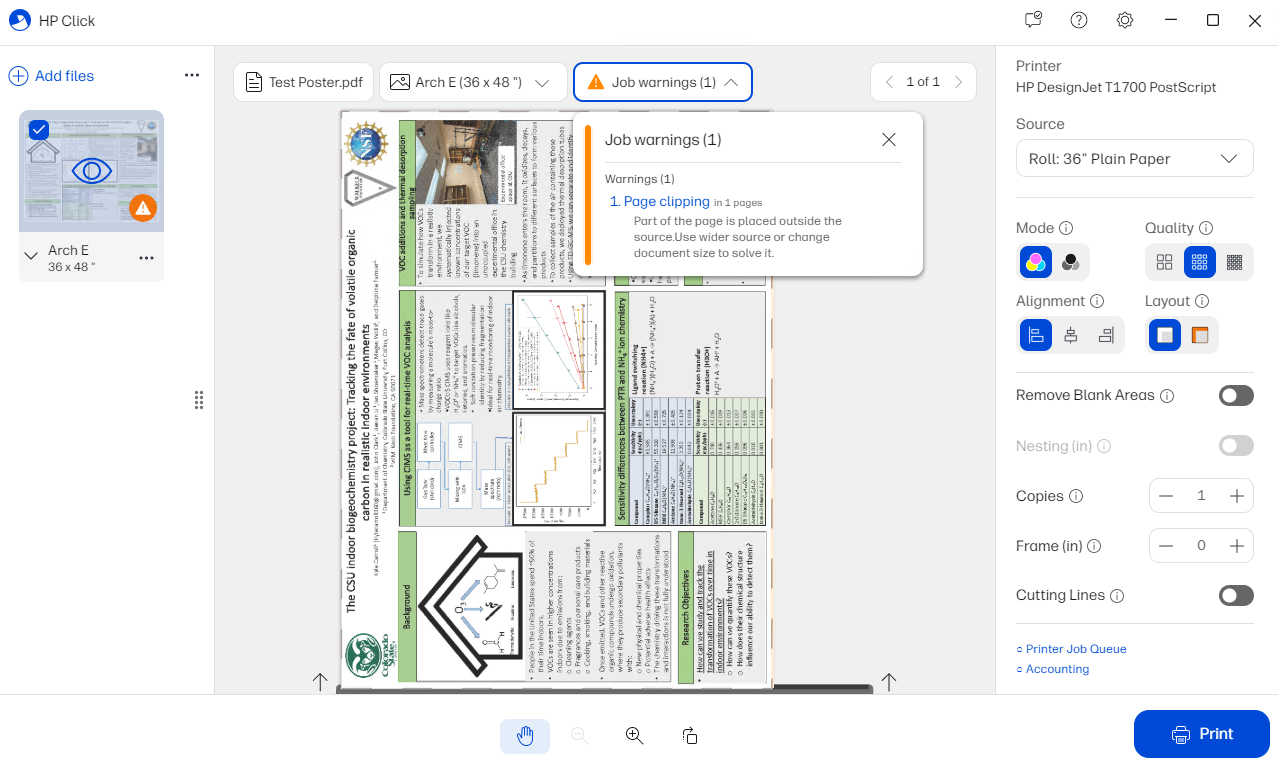
1.) Save your poster file on the desktop. 2.) Drag your file to the “HP Click” window where it will give you a preview of the output. 3.) If you see any job warnings, it usually means the poster size needs to be adjusted, as shown below. If your poster is showing up extremely small in the preview you will need to back out of the process and be sure to set up the poster with the correct dimensions. 36″ X 48″ is standard.
4.) To account for a small amount of clipping, choose the “fit to portrait” or “fit to landscape” (depending on which is appropriate) option as shown.
5.) If all looks well after any needed adjustments, you can click on the “Print” button.
ATTENTION If you are having trouble connecting to the printer, or the “Print” button isn’t enabled. It often means you just need to restart the computer and plotter. To restart the plotter, simply pull the power plug from the back right of the plotter, count to 5 seconds, and then plug it back in. The plotter will automatically start up again and after a few minutes, you can log back in and print your poster.