By Ross Madden
Published on October 9, 2020 9:41 am MT Updated on April 25, 2022 2:31 pm MT Posted in General CNSIT
Some areas of CNS now have Echo360 mobile carts available for flexible, ad-hoc lecture capture recordings. These carts provide high quality video and audio recording through our familiar Echo360 campus infrastructure. If you are interested in utilizing one of these setups, please be sure to contact CNSIT at https://cnsit.colostate.edu/help
While it is recommended that you consult with CNSIT prior to using these for the first time, this article will cover some of the general cart usage instructions.
How to start an ad-hoc recording
All carts have a specific instruction sheet attached to their top surface. These largely reflect the general directions below but also include the specific ad-hoc recording URL required for that specific cart.
1.) Connect the HDMI cable labeled “Connect to PC” to your computer’s HDMI port. You can find a DisplayPort to HDMI adapter in the drawer of the cart if needed.
2.) If you would like to also project your computer’s display to a room projector or display, connect the HDMI cable that comes from the wall into the HDMI extender labeled “Connect to Room Projector”.
3.) On your laptop, browse to the URL listed on the top of the cart’s direction sheet.
If you are asked to log in to Echo360, provide your Echo360 e-mail address which will be First.Last@colostate.edu – this will redirect you to the CSU SSO (Single Sign On) page where you will authenticate with your CSU NetID and CSU NetID password. You will now be presented with a preview window for the Echo360 system in this cart. This window resembles the standard Universal Capture look and feel, and allows you to set details about title, description, duration and destination (among other things). You can also get a preview of the video feed. Once everything looks good, you can click on the record button of this web page to start your lecture capture session!
Camera setup
The camera should be set up on a table top or tripod and positioned appropriately for your use. You must also plug the camera into wall power with the included power adapter.
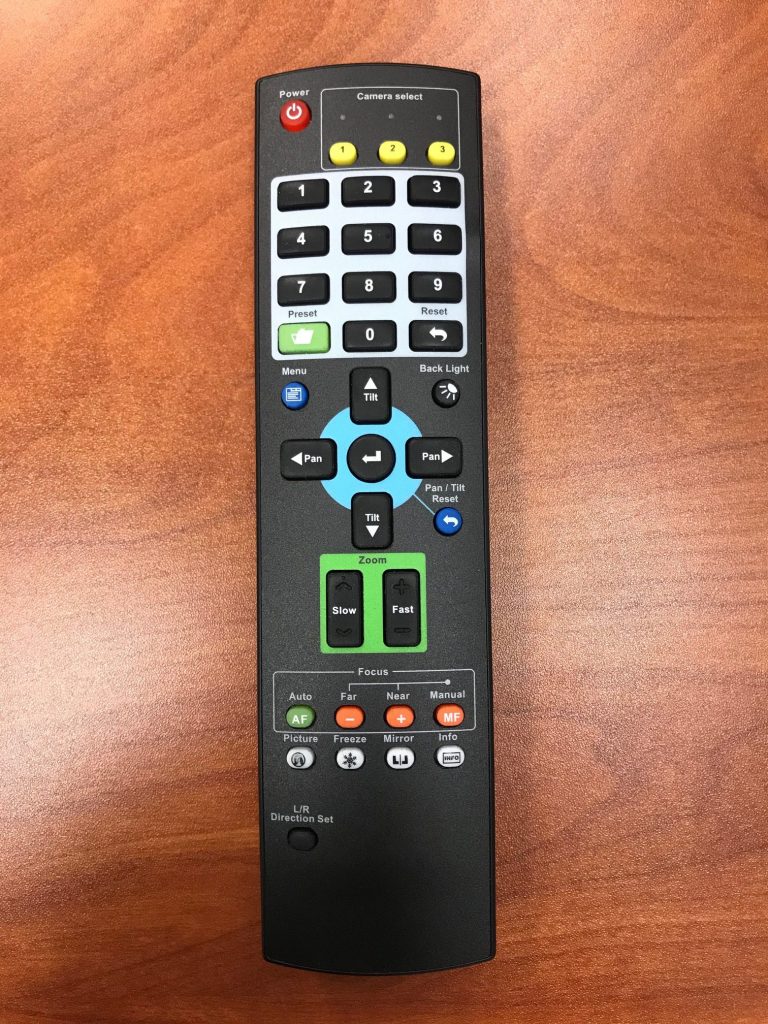
Once positions and powered on, you can fine tune the positioning using the remote control found in the cart’s front drawer. Below is a picture of this remote. You will be able to adjust the pan, tilt and zoom initially, and while recording as needed.
Microphone setup
The microphone for these carts is designed to pick up all sound in the room including in-person student discussion. This is a puck-style mic that normally sits on top of the cart but can be positioned elsewhere as needed (the cord is fairly long). You will notice a light on the mic which can be tapped to enable or disable its functionality. Green means sound is being picked up and red means the mic is turned off.
You may need to point your laptop back to the laptop speakers if you want to listen to your recording. You can do this by clicking on the volume/speaker icon in the lower right task bar. If you don’t see the icon, click on the little up arrow.
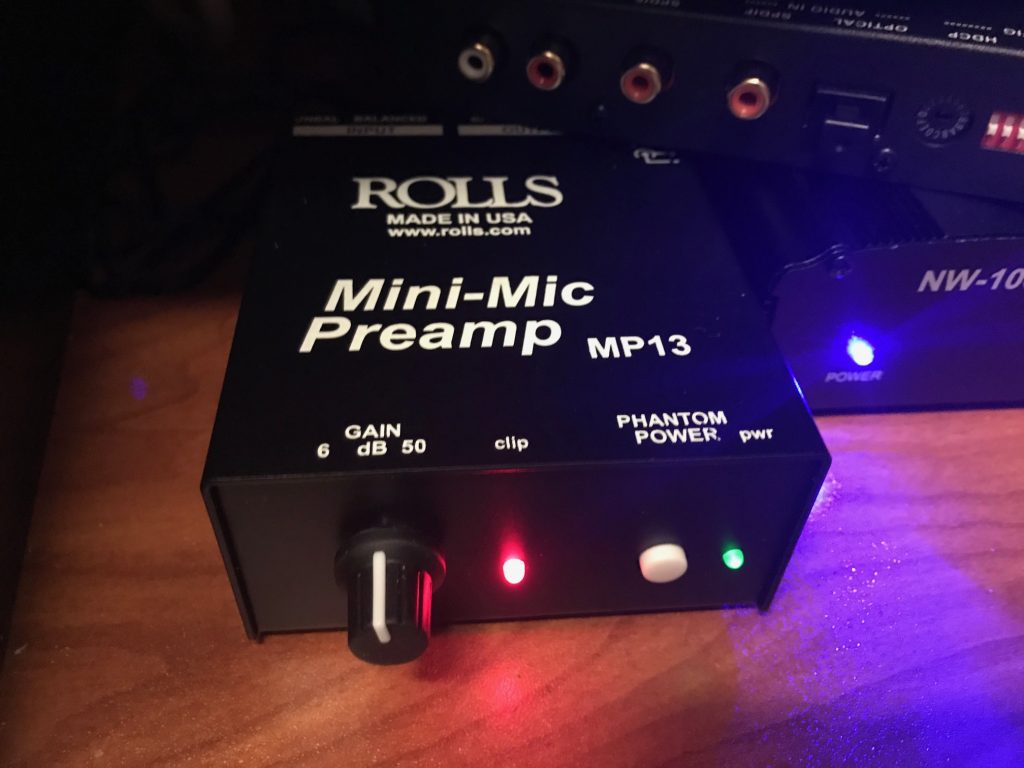
Generally, you will not need to make any further adjustments to the mic for normal use. However, if you find that a specific use causes the pickup to be either too quiet or too loud, you can adjust the mic pre-amp dial which is found in the cart’s main cabinet space. As shown below, the optimal setting is to have the dial set to “12 o’clock”. Turning the dial to the “3 o’clock” position will increase the pickup (make things louder) while dialing to the left toward the “9 o’clock” position will decrease the pickup (make things quieter).