By John Purdy
Published on September 26, 2022 2:44 pm MT Updated on September 26, 2022 3:22 pm MT Posted in Software, Tips and Tricks
About Gravity Forms
Gravity Forms is a WordPress plugin that allows users to create simple and complex forms to collect information on their WordPress site, and then decide what to do with that information. The College of Natural Sciences has an “Elite” License installed on https://forms.natsci.colostate.edu available for use. Once a form has been created, it can be embedded into various pages and features within our forms domain. Further options regarding email notification and exports are available for users to configure as needed.
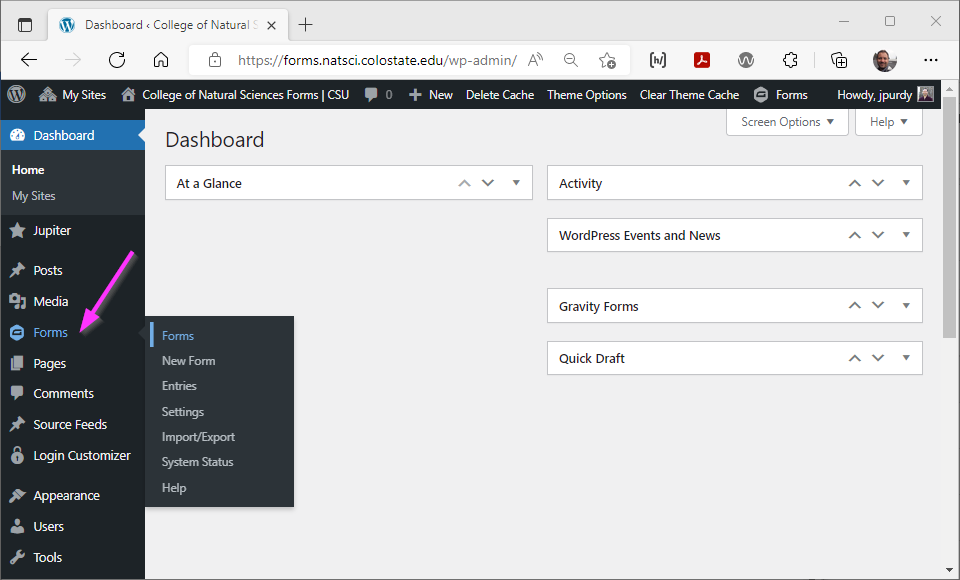
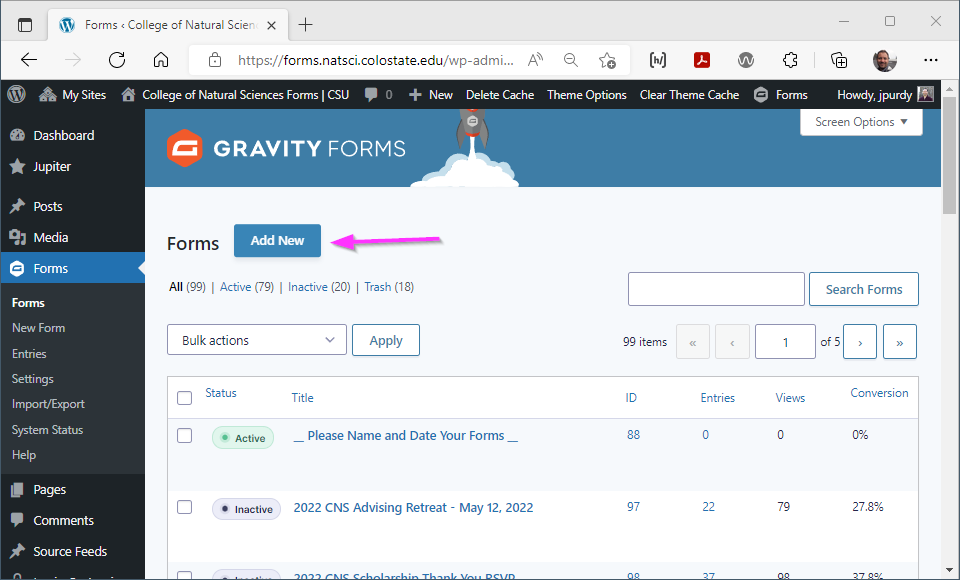
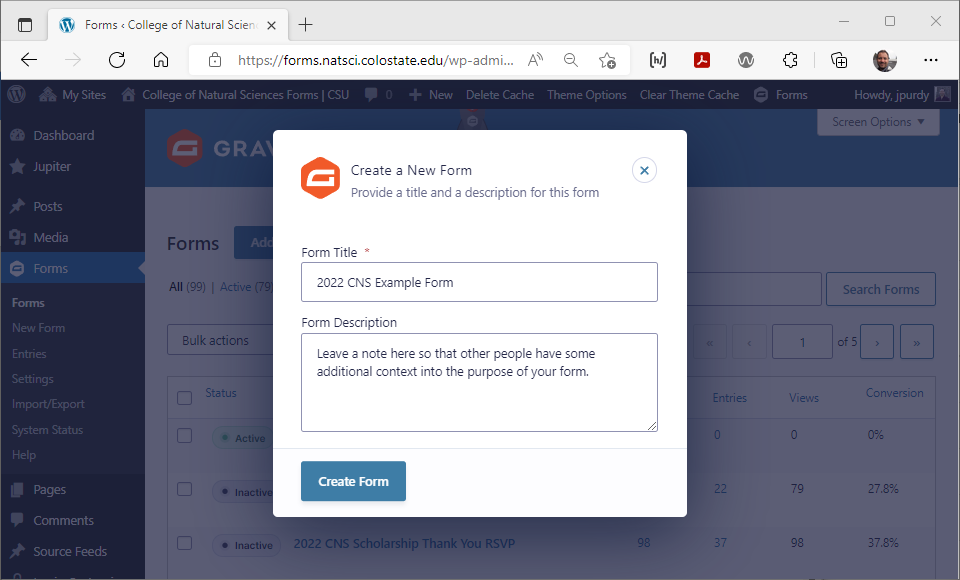
Creating a Form
Naming
When creating a form, please remember that this is a shared resource. Prefix your form name with a Department or Unit Identifier and include a date or semester within the title. This little bit of detail will help keep our library of forms organized over the years.
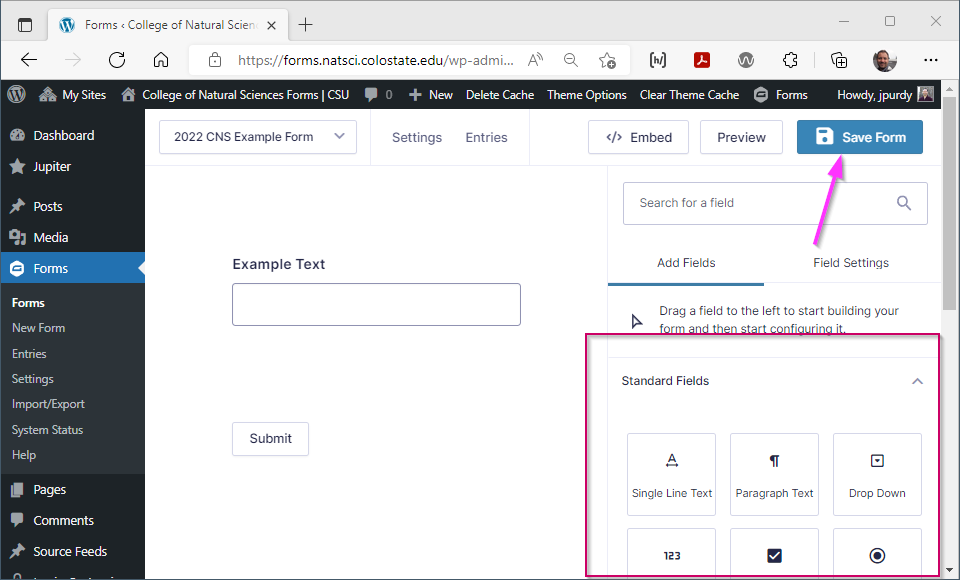
Building
Use the form builder to create an appropriate form. Fields can be added and removed later on in the process, so it is not necessary to build your exact form immediately in the process. For a full list of form elements available, and details on their attributes, please visit Gravity Forms Documentation – https://docs.gravityforms.com
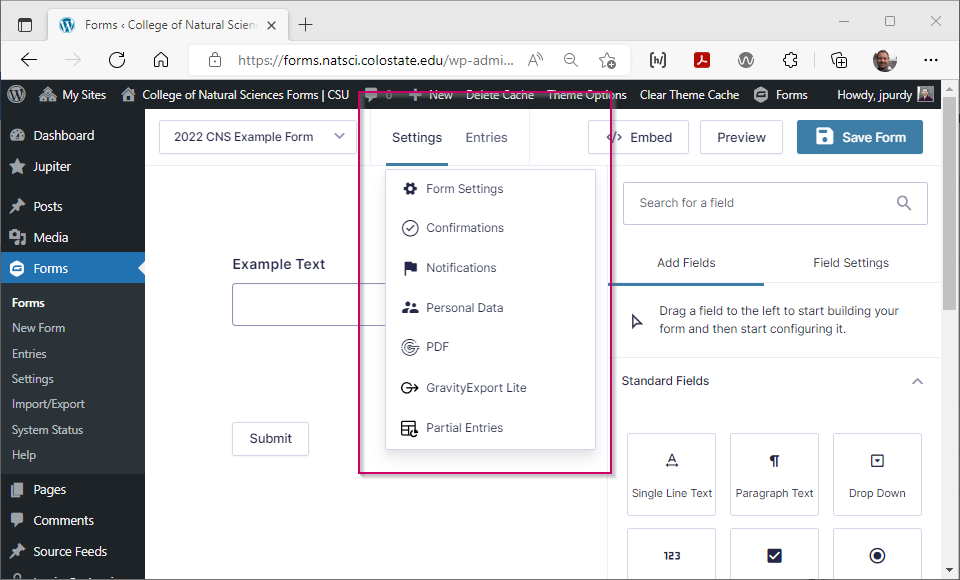
Once the basis of your form has been created, it will be important to review the “Form Settings”, “Confirmations”, and “Notifications” of the form. These panels are available both from within the form in the sub-navigation menu, and within the WordPress Dashboard from the Admin Menu.
Form Settings
Please use the “Schedule Form” setting to limit the time when your form will be available. Even if the default is 1+ year in the future, putting a limit on the form availability will be helpful for longterm maintenance of the server. The remainder of the Form Settings mainly have to do with the display of your form within a WordPress page and the default settings will most likely work for your form. For further details, please visit, https://docs.gravityforms.com/form-settings/
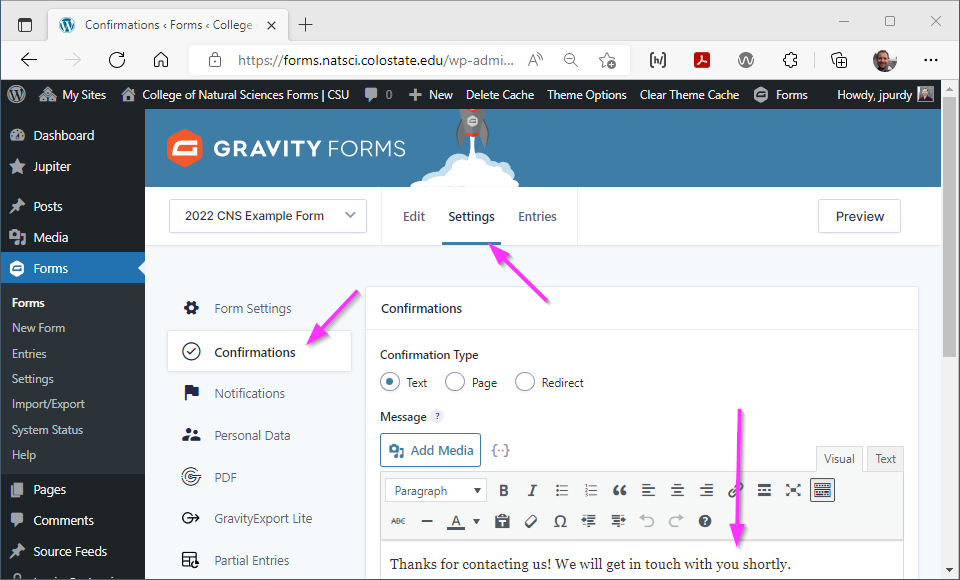
Confirmations
This is a very important part of your form building. Here is where you will set the action that happens after a user has submitted a form. You can have multiple actions and they can do very different things. The most basic, and default, action is to respond to the form submission with a small piece of text that confirms the receipt of the form entry.
Notifications
Please deactivate the default “Admin Notification” by clicking the green button that reads “Active”. The default notification sends an email receipt to the college’s webserver admin email address.
Notifications are email based. You may use this to collect a receipt of each entry at the time of submission. Or you may wish to use conditional logic to only send notifications based on some types of submissions. Full Notification Settings are covered at https://docs.gravityforms.com/settings-reference-notifications/ .
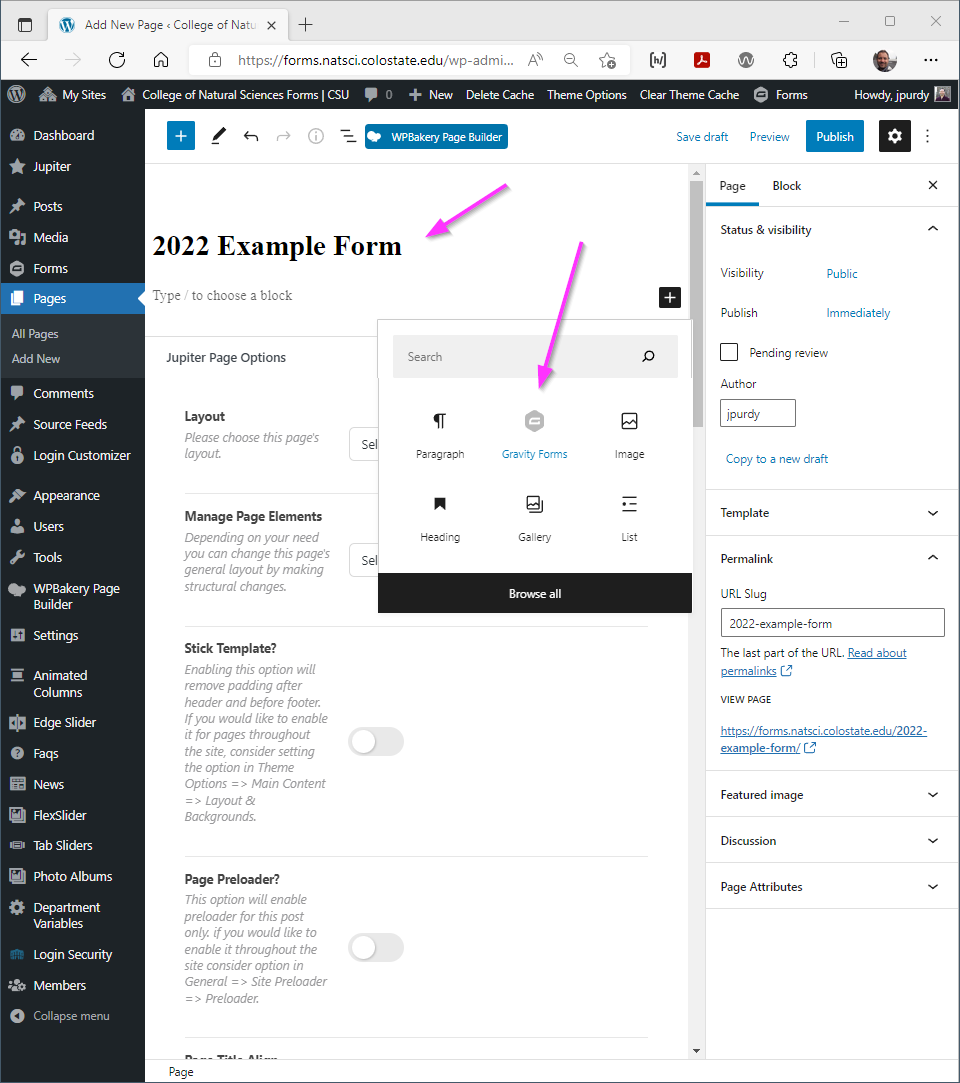
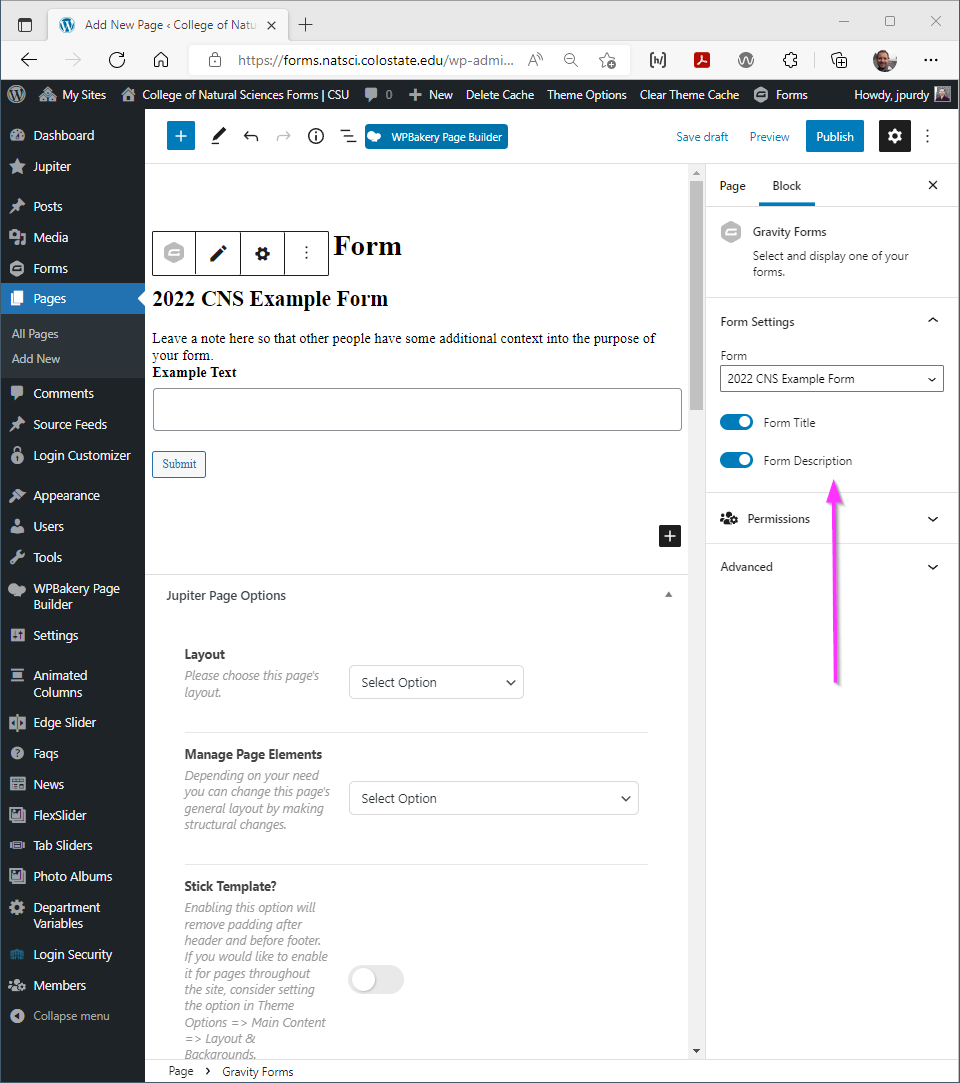
Embedding a Form in a webpage
A newly built form still needs to be placed within a webpage for visibility. Gravity Forms provides a block for use within WordPress for this task. A suitable webpage can be as simple as only having a form, or can be much more decorated with graphics, extra texts, and even multiple forms.
If you are creating a new webpage for the primary reason of embedding a single form, please name the webpage using the same, if not similar, naming convention.
When adding the Gravity Form block within the page builder, you will have some additional options for information to display around the form details.
Requesting a new Form
A form is available at https://forms.natsci.colostate.edu that covers the request for a new form. CNS IT will work with the form submitter to create the form in a timely manner.
Downloading and Reviewing Form Data
Reviewing Entries
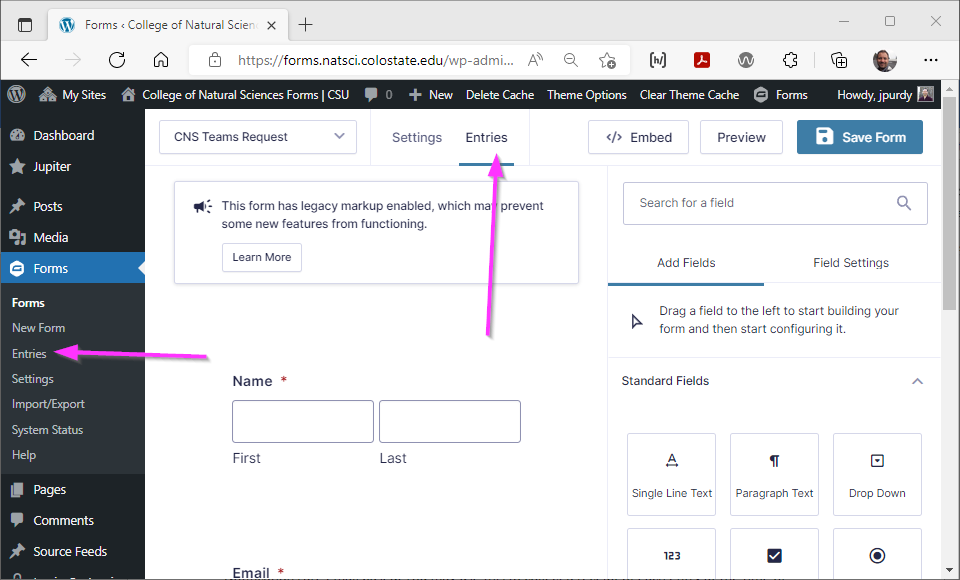
Form entries are available for review at any time on the server. Either from the “Entries” tab on an open form, or from the “Entries” menu item within the Gravity Forms menu in the WordPress dashboard. Not all form fields are shown by default, and you may have to configure your column view as needed. There is a search field available to quickly filter through form entries.
Downloading Entries
Form Entries can be downloaded at any time from any form available on the server. There are two ways to do this.
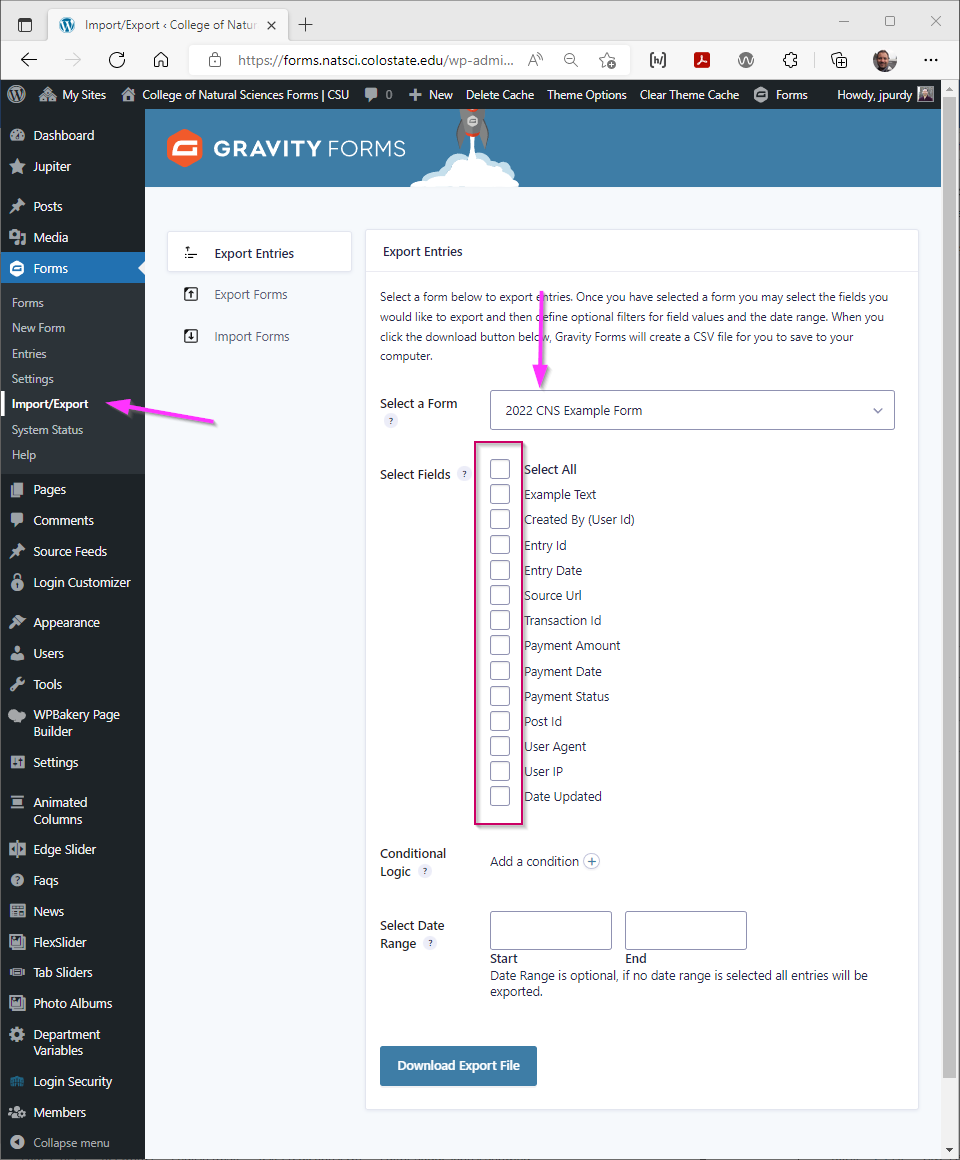
Import/Export Tool
This panel is available from the WordPress Admin Menu in the Gravity Forms section. Select the form that you wish to download entries for, and then the fields that you wish to include in the export. In addition to the fields from the form, there are several fields with metadata from the form entry available. The form entries are then available to download as a CSV file.
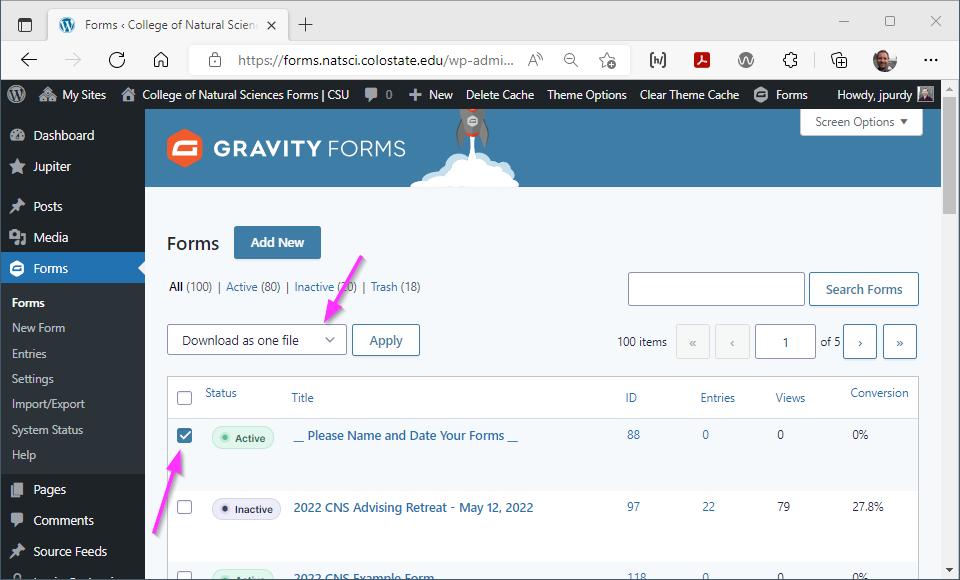
List of Forms
From the list of available forms, select the form that you wish to download. Then select “Download as one file” from the Bulk Actions options available at the top of the page and click Apply. A CSV download should begin with the form entry details.