Managing the membership of a SharePoint Online site without the intervention of CNSIT Staff is another one of the great advantages that SharePoint has over some traditional network file sharing and collaboration services. In this article, SharePoint site owners will learn how to manage the memberships and permissions for their SharePoint online sites.
This article assumes you know the URL for the SharePoint Online site you wish to manage. This will have been sent to you when the SharePoint Online site was created (contact CNSIT at https://cnsit.colostate.edu/help to request a SharePoint site) and should have a URL similar to the following, where SITE_NAME is the name of the SharePoint Online site:
https://colostate.sharepoint.com/sites/SITE_NAME
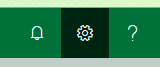
From here, you should locate the “Gear” icon in the top right of the page. Click on this “Gear” icon and choose the “Site Settings” option.
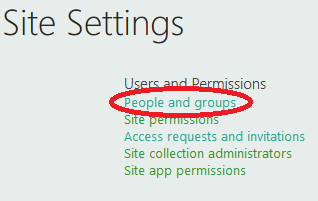
In the Site Settings menu, you will look at the top right cluster of links. Locate and select the “People and groups” link.
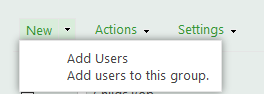
Here you will see a list of all of the group members. You will notice the “Groups” on the left side. The default group is “Members” which should be showing now. You can add additional groups with custom permissions as well, however – this will not be covered here. To add new members to this group, you can choose the “New” menu, and select “Add Users”.
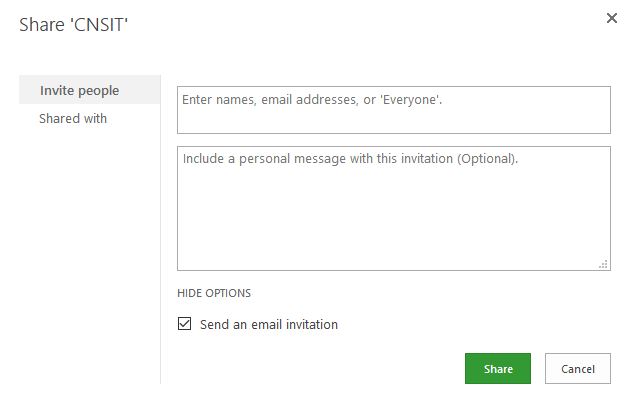
A modal window will appear that allows you to search for and choose the users you wish to add. It is often best to search for individuals that are CSU affiliated and within the Global Address List (GAL) using the format “Last Name,First Name”. For users not in the CSU GAL, you can simply enter in their e-mail address. When you add users, they will receive an e-mail describing the new access. You may wish to enter in additional information before adding as well. You can also choose not to send this message by Showing the Options and un-checking the “Send an email invitation”. This is often a good idea if you are planning on showing them their access in person, and prefer they don’t mess with it until that time.
Once you share access to your new members, they will be able to access the SharePoint site and start collaborating!
For those interested, here is a more in depth document on the various permission levels you can award an specific group (if you would like to customize your site further in this way).