By Ross Madden
Published on December 27, 2021 10:31 am MT Updated on August 2, 2022 9:15 am MT Posted in General CNSIT, Knowledge Base
AirMedia is a Crestron product that is available in many of our teaching and conference rooms. AirMedia allows a presenter to wirelessly connect to the room AV directly from their mobile device. This article will guide a user through the initial setup of this system.
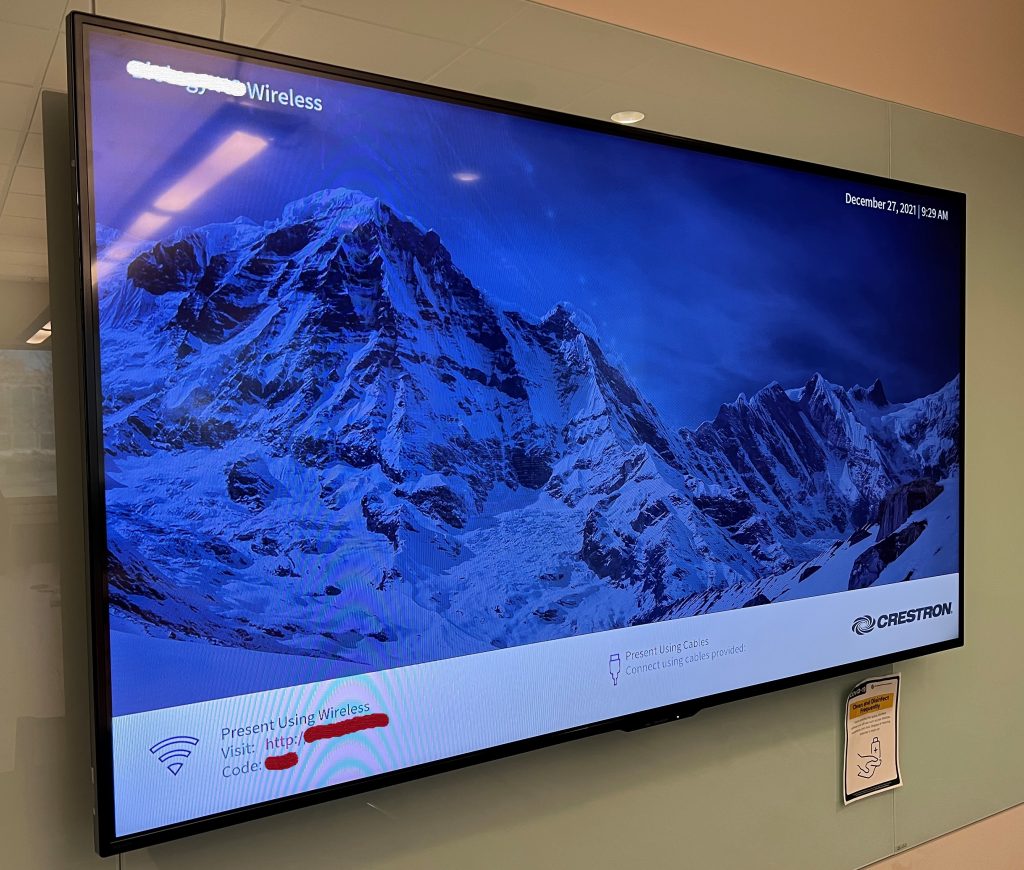
1.) When you are in a room that offers AirMedia as an option (optionally after choosing the AirMedia input from a list of inputs available for the room) you will see a screen similar to the following after setting the tv input to HDMI 2. Please note the “Visit” and “Code” items listed in the bottom left of the screen – these are used in subsequent steps.
2.) To get started open a web browser on the device you will use to present. Type in the address listed in the “Visit” item that is displayed on the screen.
Please note that this device must be online in some way either directly connected to Ethernet or via the CSU-NET wireless (CSU-Visitor wireless will not work!).
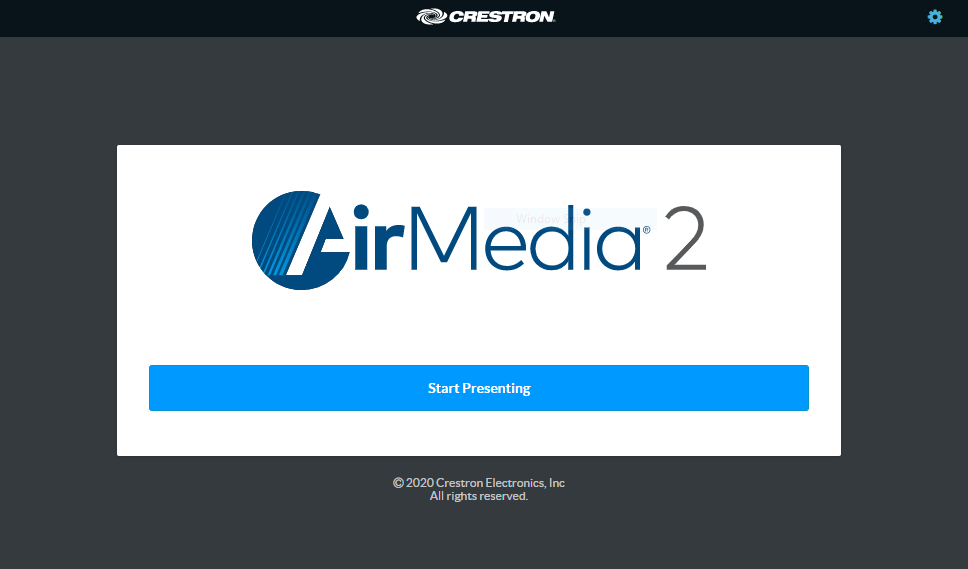
Your web browser will display the following screen screen, you can click on the “Start Presenting” button.
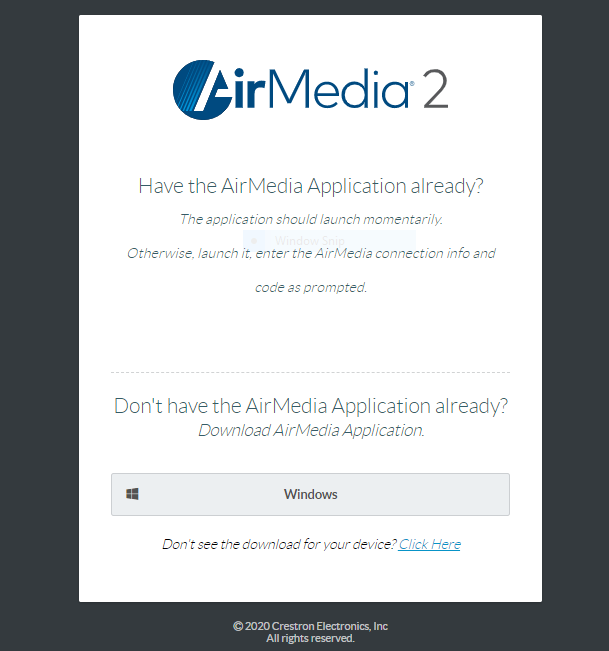
3.) If you do not have the AirMedia client program installed, you will now be presented with the following window. If you already have the AirMedia client program installed, you should be able to skip ahead to step ##.
Please note that this window was captured using a Windows computer, if you are using a MacOS computer or other device you should see that choice automatically displayed instead. If your device is not detected properly, you may click on the Click Here link at the bottom of this screen.
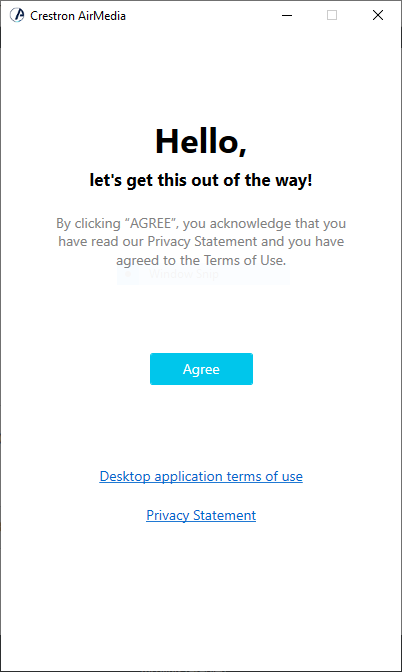
4.) At this point you will be downloading and installing the program. Once this step is complete you will be presented with a window similar to the following. This is just the Terms of Use which you are welcome to review. Once you are satisfied, click on the button labeled “Agree”.
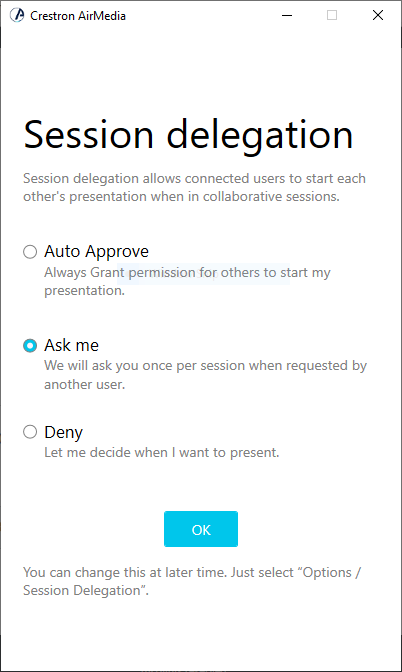
5.) The next screen let’s you choose your “Session delegation”. Read through all of the options and choose appropriately. Once selected you may click on the button labeled “OK”.
6.) At this point you may be shown a firewall or app notifications window, depending on your device’s operating system. These are safe to agree to in order to proceed.
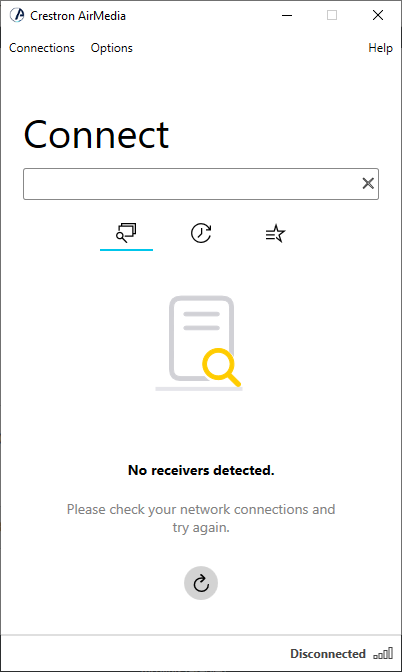
7.) The AirMedia client program will now launch with the following window. You will enter in the IP address listed in the “Visit” field item (do not enter the “http://” part of this item – just the IP address is needed) shown on the screen from step 1 of this article. Once you have the IP address entered, you can push your “Enter/Return” key to initiate the connection. Alternatively, if you are on the same network as the AirMedia device, you will choose from the list that is automatically populated.
Once the connection is initiated, you will be prompted to enter in the “Code” item shown on the screen from step 1 of this article.
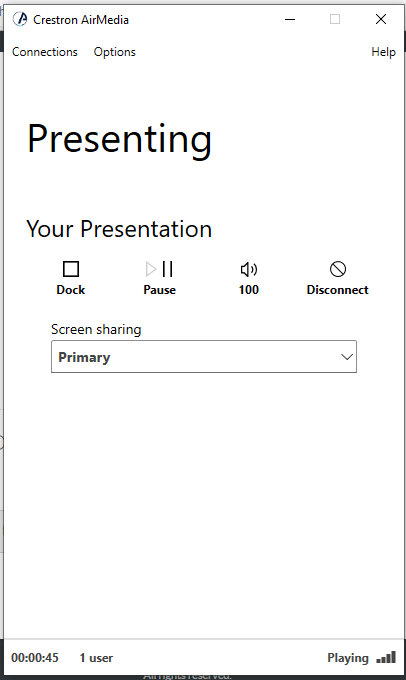
8.) Finally, you should see your screen mirrored on the room’s screen! You will see something similar to the following screen. Using this client, you can use the controls presented. Enjoy!