Skip to Main Content

Configure OneDrive Client for MacOS
By Ross Madden
Published on January 25, 2019 4:56 pm MT Updated on April 25, 2022 2:40 pm MT Posted in Apple, General CNSIT, Knowledge Base, The Cloud
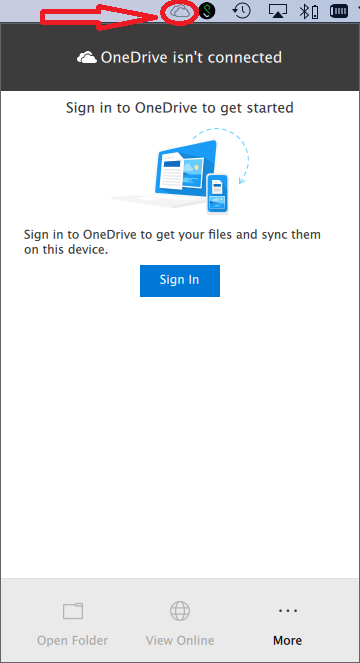
In this article I will walk you through connecting the OneDrive client for MacOS to your CSU O365 personal OneDrive space. The first step is to download and install the latest OneDrive client from the Mac Store. You can find this by searching for “OneDrive” in the search area. Alternatively, you can download the .pkg installer directly from here: https://aka.ms/MacFilesOnDemandBinary. Once that is installed, you can launch it by entering in “OneDrive” into your MacOS Spotlight search. When it is running, you will notice the “cloud” icon in the task bar (as shown in the screenshot below).
To start the connection process, you will select this OneDrive “cloud” icon and select the “Sign In” button.
From there, you will be asked to enter in your username in the form “NetID@colostate.edu”. Once entered, select the “Sign in” button to proceed. 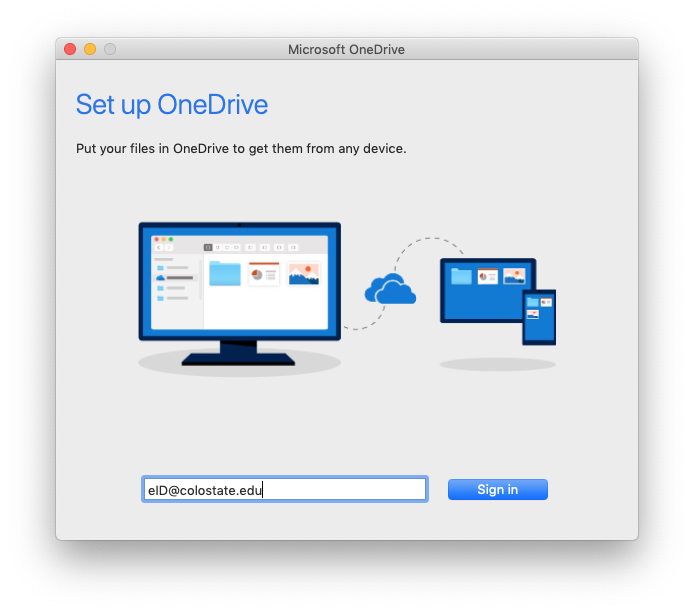
Next you will indicate that this account is for a “Work or school” account by selecting the appropriate choice.

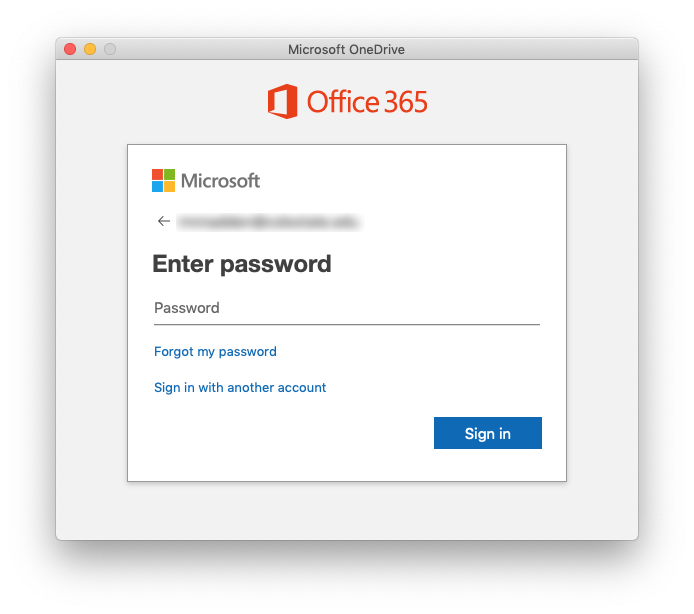
You will now be asked to enter in your password. This is your CSU NetID password. After entered, select the “Sign in” button once again to proceed.
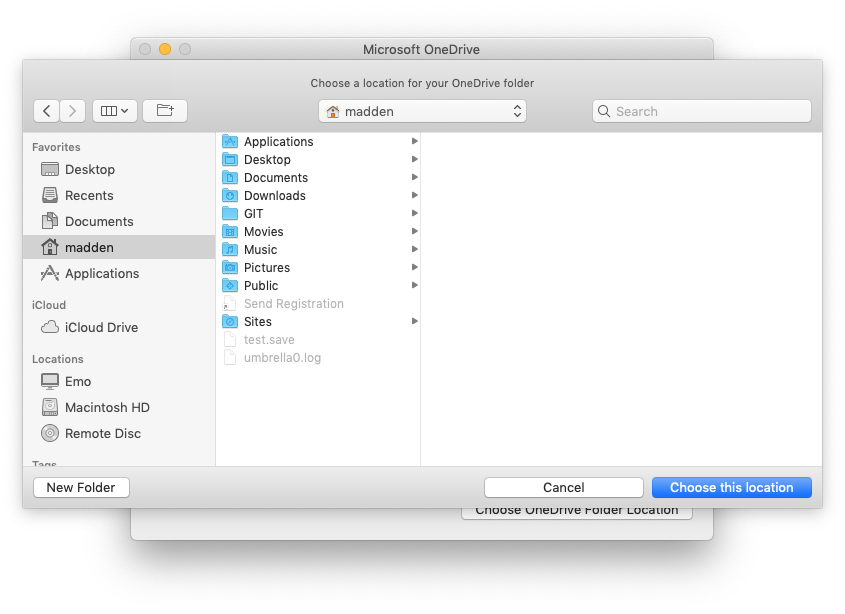
You will now be asked to choose your OneDrive folder location on the local computer. Click on the “Choose OneDrive folder location” to proceed. The next dialog window will allow you to choose this location. Unless you have good reason to alter the default, you are advised to keep this in the root of your user profile. The screenshot below shows this dialog. Select the “Choose this location” button to proceed.
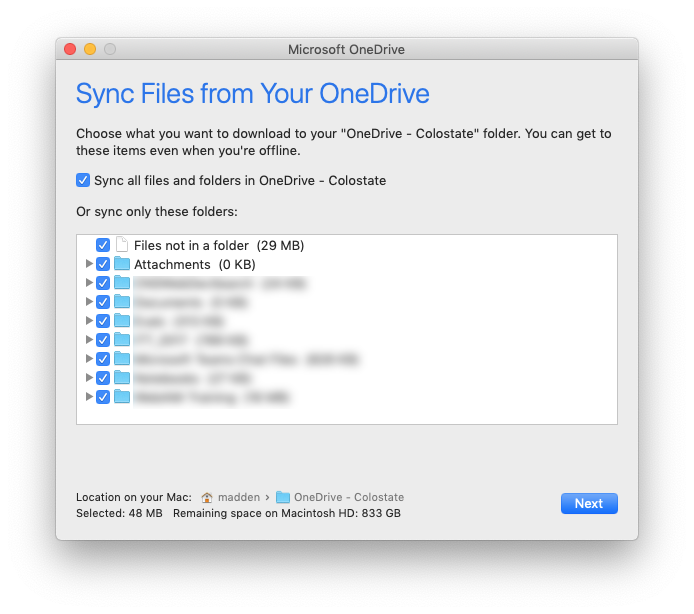
The next window will confirm your choice. Select on the “Next” button to proceed. The next dialog window to appear will ask you what OneDrive content you would like available locally using the OneDrive sync client. It is recommended to leave all content selected as shown in the following screenshot. Select the “Next” button to proceed.
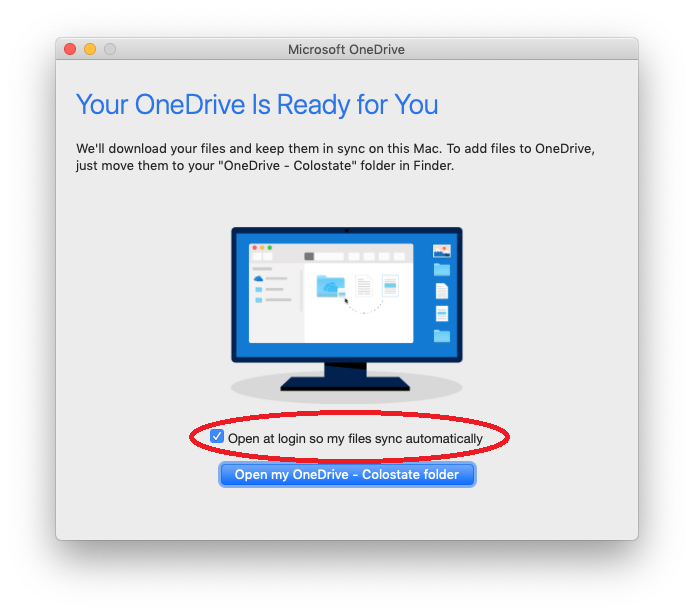
You should now be all set! This final dialog window will confirm the setup. You will also notice a check box for “Open at login so my files sync automatically”. It is recommended that you select this choice so that OneDrive starts up when you log in to your computer, and your content is always up to date. At this point, you can open your local OneDrive folder by selecting the “Open my OneDrive – Colostate folder” button. This resides in your user profile and can be located at any time from within the MacOS Finder.
Enable On-Demand for OneDrive
One demand is a very useful feature that should be enabled to save local hard drive space. More information on this can be found here: https://cnsit.colostate.edu/kb/mac-onedrive-client-files-on-demand
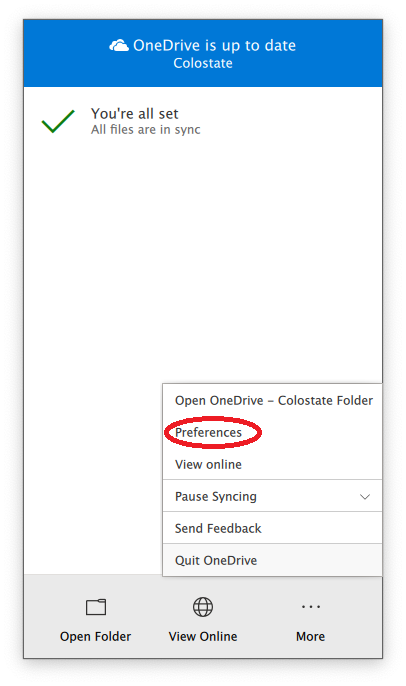
To enable On-Demand functionality, select the OneDrive icon from the upper task bar, and choose the “Preferences” option in the ellipses “…” menu.
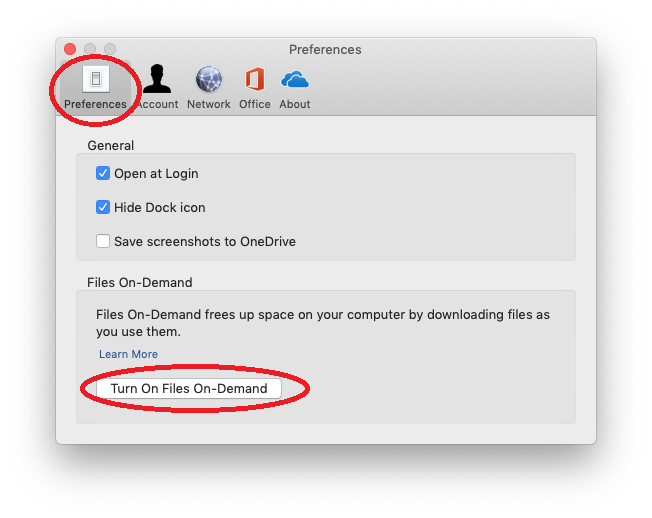
In here, you will make sure to select the “Preferences” tab at the top and finally, select the button labeled “Turn On Files On-Demand”.
Enable the OneDrive Finder Extension
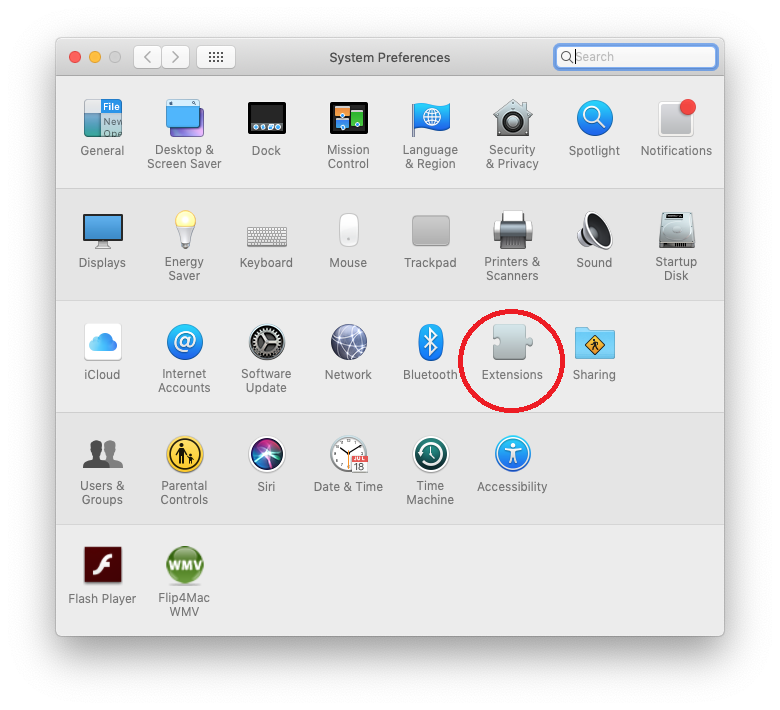
The final step is to enable the OneDrive Finder extension so that the On-Demand icons indicating the files local and cloud availability is visible. To do this, select the “Extensions” icon in the MacOS System Preferences.
From here, you will select the OneDrive “Finder Extensions” check box as illustrated int he screenshot below.
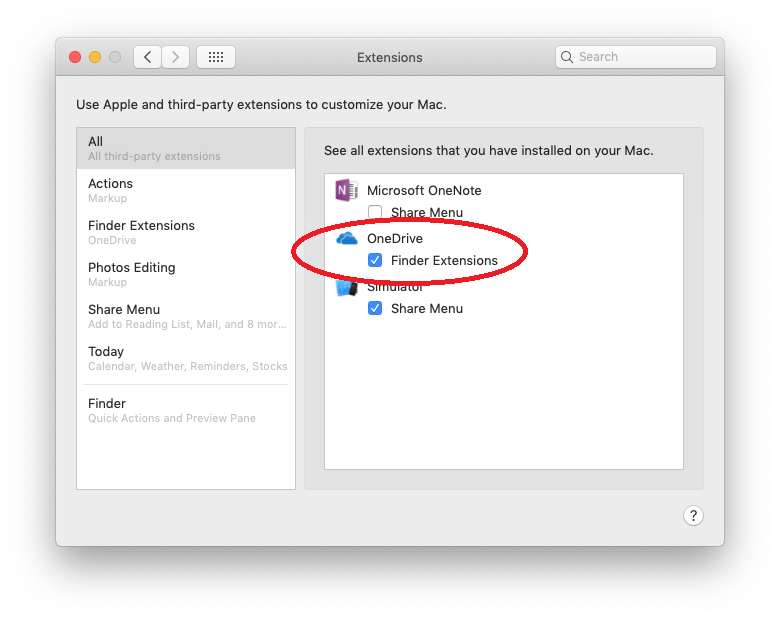
You may need to restart your computer at this point for these new OneDrive Finder Extensions to load.